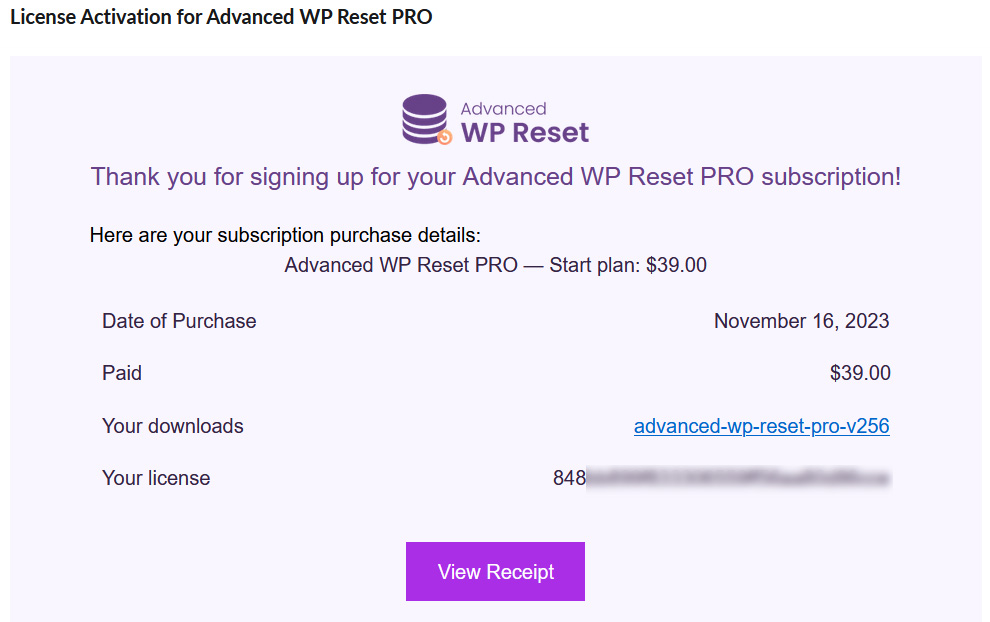
Upon purchasing our plugin, you will automatically receive a purchase receipt that contains your license key and a download link for the plugin’s pro version. The installation process for the Advanced-WP-Reset plugin, whether it’s the pro version or the free one from WordPress.org, can be completed in two ways. But in both ways, you need first to download the pro-version, you can do it using the link provided in your purchase receipt (Your downloads):
Then, you need to upload it to your website, either using WordPress Dashboard or via FTP.
Using WordPress Dashboard
Once the pro-version downloaded, you need to upload it to your website.
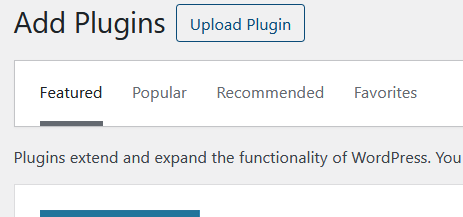
In your WordPress dashboard, navigate to ‘Add New’ in the plugins section:

Then click on Add New Plugin button and then on Upload Plugin as shown bellow:
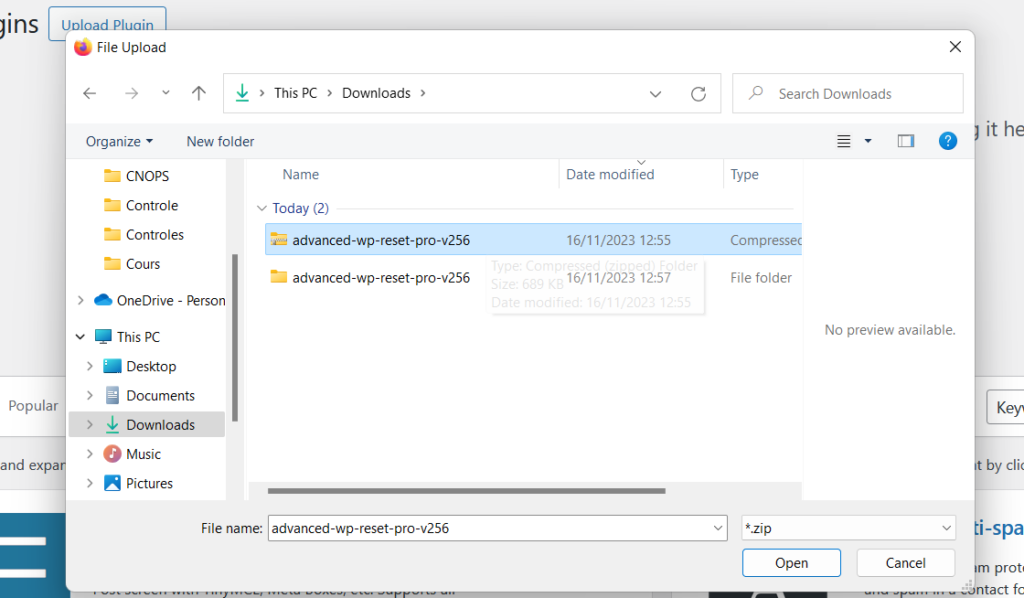
This will show the your Downloads,
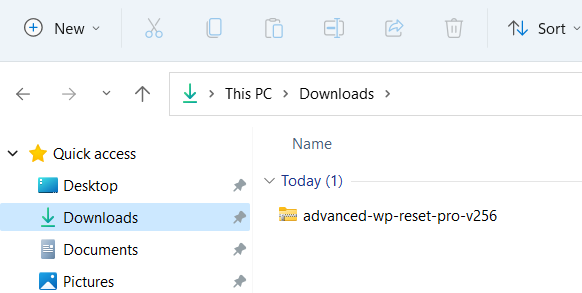
Click on the pro-version version, and then Upload:
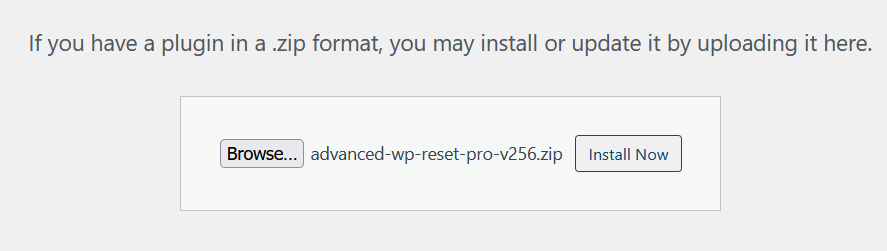
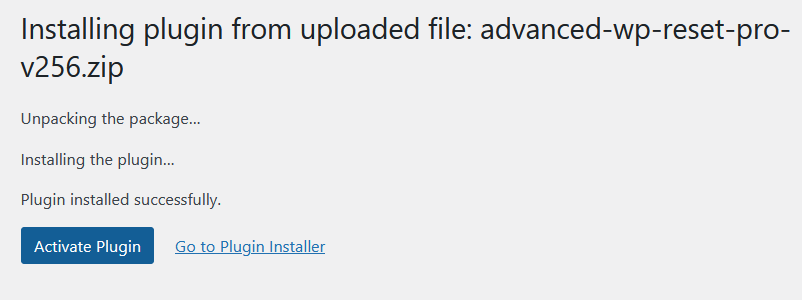
Click on Install Now, this will install the plugin, and ask you to activate it:
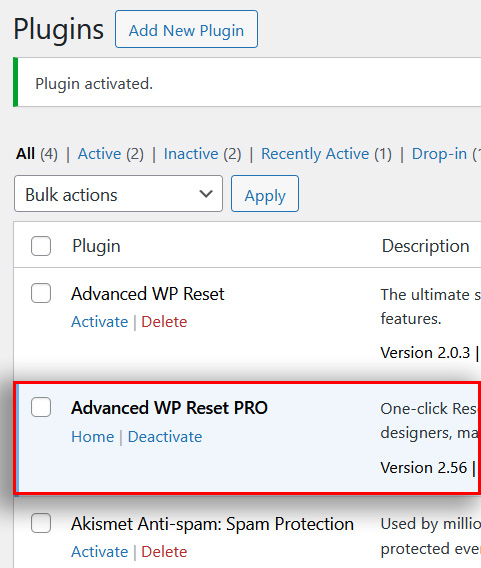
Once activated, your plugins list will show your plugin activated:
Via FTP
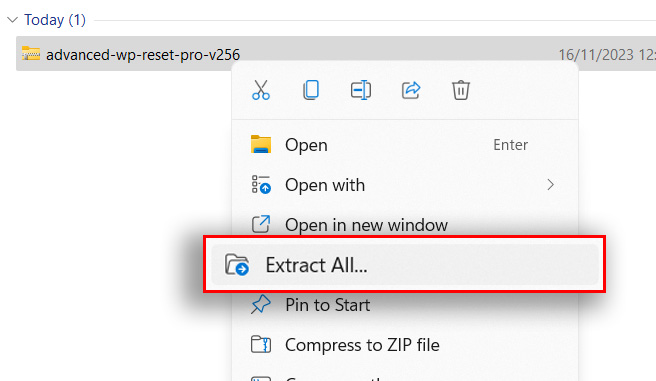
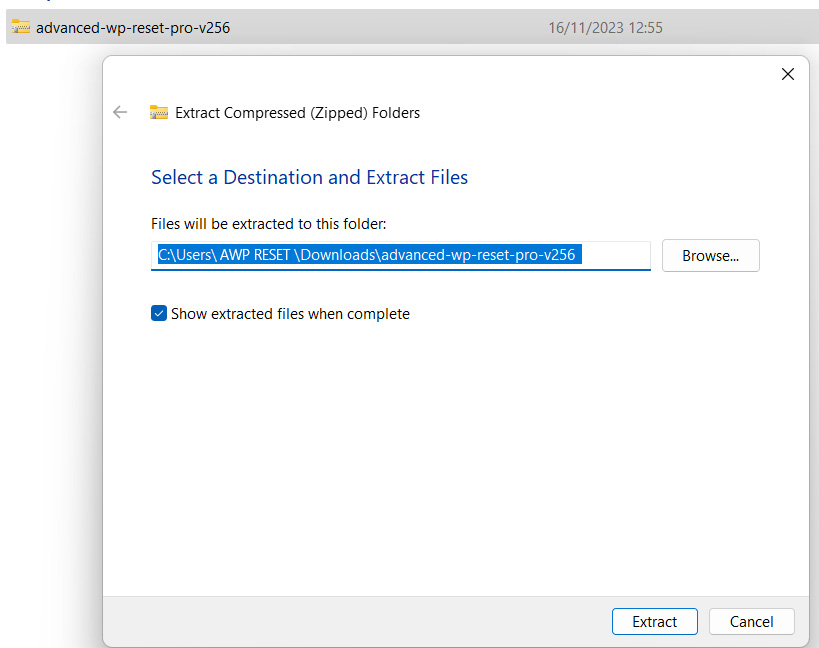
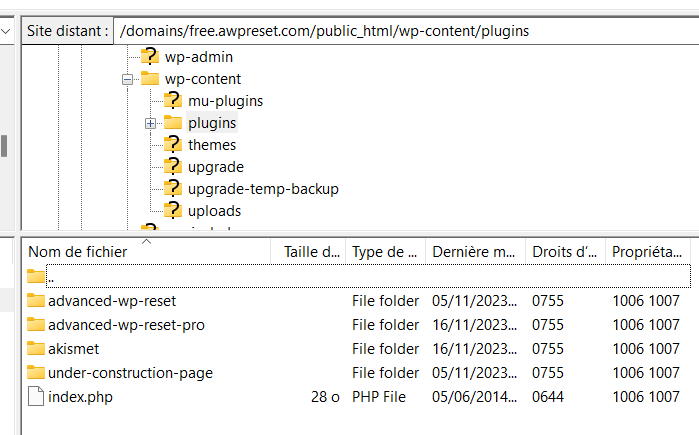
Extract the downloaded zip file to the “advanced-wp-reset-pro-vxxx” directory
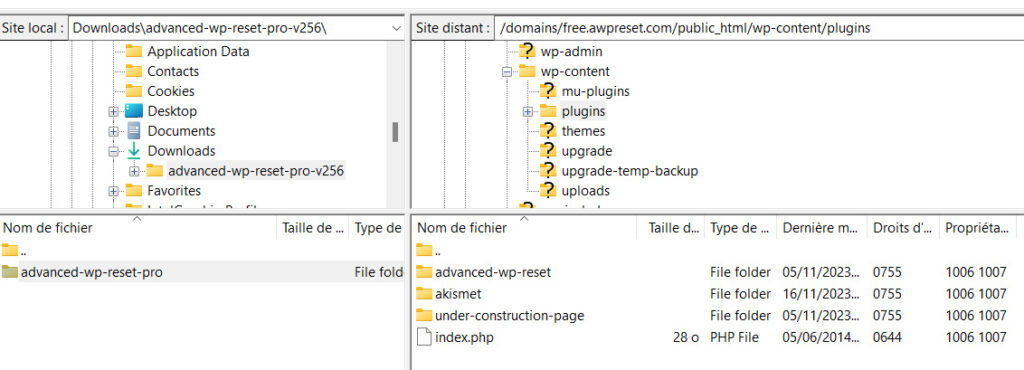
Upload the “advanced-wp-reset” directory (inside the extracted folder) to ‘/wp-content/plugins/’ on your webspace.
Now, you need to activate the plugin from the Plugins dashboard:
Activate your licence
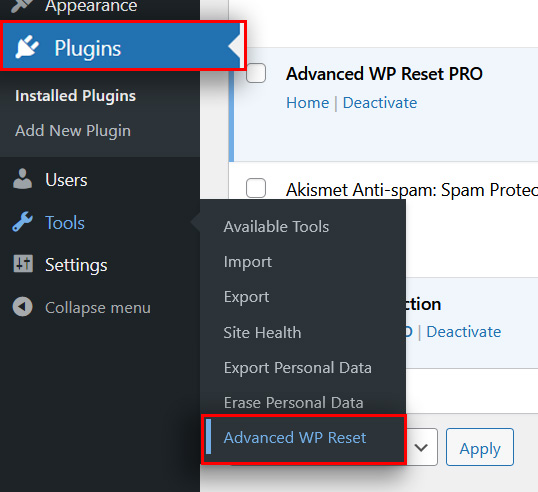
To access the Advanced WP Reset plugin, click on “Home” link before the deactivate link or navigate to “Dashboard” >> “Tools” >> “Advanced WP Reset”:
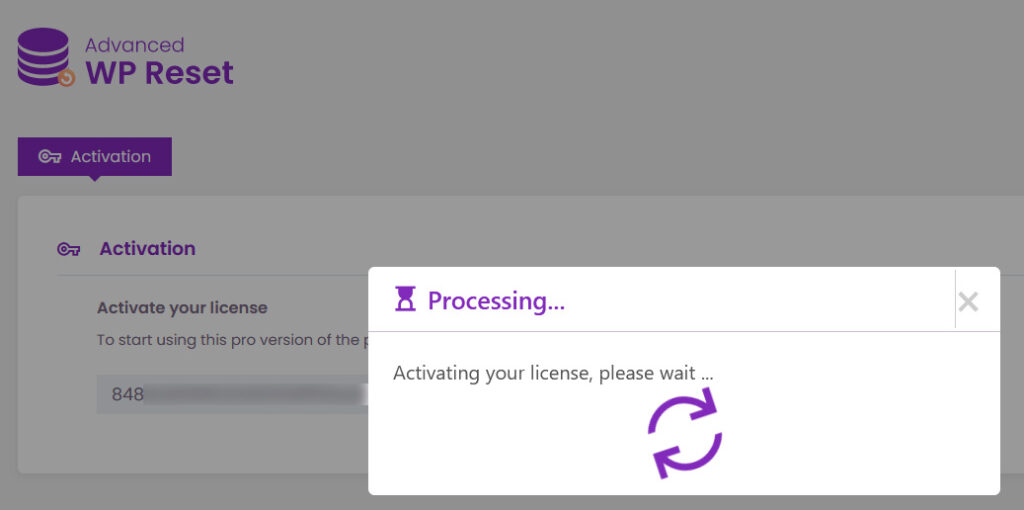
If the licence is not activated yet, you will be asked to enter your key and then activate it:
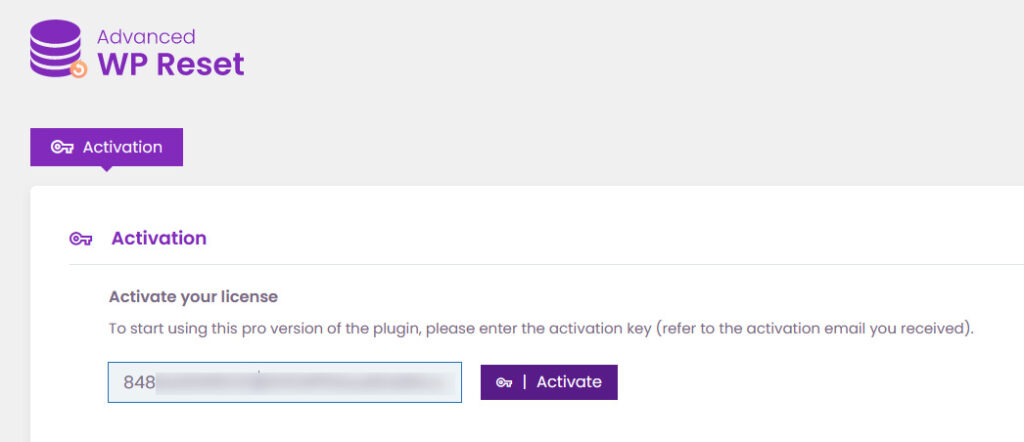
You find the key in the same activation email:
Enter it, and click on Activate: